Bringing a new pet home is always an exciting experience. When it comes to aquatic pets like the axolotl, there are specific steps and precautions to ensure their health and well-being. From setting up the right environment to feeding, each step is crucial.
Important Disclaimer Before Acclimation
Before introducing your axolotl to its new home, it's important to ensure that the aquarium water is dechlorinated. Chlorine and chloramines, commonly found in tap water, can be harmful to axolotls. It is important to note that some water conditioners contain aloe, which is toxic to axolotls. These include, but are not limited to, the following: API Stress Coat, Tetra AquaSafe Plus, Aqueon Water Conditioner, Marineland Water Conditioner, Jungle Start Right.
We recommend using one of the following alternative water conditioners as they detoxify ammonia and nitrite, which is essential for In-Tank Cycling: Fritz Complete, Seachem Prime, or API Aqua Essential.
For all of the best axolotl supplies, check out our Amazon Storefront! Before your axolotl arrives, we suggest having these essential items to ensure their health.
Acclimation: The First Step
Acclimating your axolotl to its new environment is crucial for its well-being. This process ensures that your pet adjusts smoothly to the water conditions of its new home.
1. Turn Off the Lights
Dimming the environment or turning off the aquarium lights can help reduce stress in the axolotl during the acclimation process.
2. Float the Bag
Place the bag containing the axolotl in your aquarium, ensuring it floats. To help the bag stay afloat, open it and roll its top towards the outside (For a better visual understanding of the acclimation process, you can watch this video).
3. Introduce Aquarium Water
Every 5 minutes, scoop a small amount of water from the aquarium and add it to the bag. This gradual introduction helps the axolotl adjust to the water chemistry of its new home.
4. Release the Axolotl
After about 45 minutes to an hour, use a net to gently introduce the axolotl to the aquarium. Do not add the water from the bag to the aquarium; dispose of it down the sink.
In-Tank Cycling: The Next Crucial Step (Done Right)
1. Test the Water
Using an API Freshwater Master Test Kit, test your water every 48 hours. If ammonia or nitrite is detected, dose with Fritz Complete (or one of our other recommended water conditioners) and FritzZyme Turbo Start 700 (Seachem Stability and API Quick Start will also work).
If ammonia levels exceed 4 ppm, perform water changes to reduce them. If nitrite levels exceed 6 ppm, also perform water changes to reduce them.
We recommend starting with 30% water changes and performing more frequent/larger volume changes as necessary. Avoid doing water changes greater than 40% as this may alter the water chemistry too quickly and cause stress on the axolotl.
2. Monitor Nitrates
If nitrates exceed 20 ppm while your aquarium is cycling, perform a 20-30% water change. Avoid more than 40% at once. Instead, do smaller water changes throughout the week.
3. Water Replacement
Refill with cold tap water, condition with Fritz Complete, and ensure the temperature matches the aquarium. Pour the conditioned water gently into the aquarium.
Feeding Your Axolotl: Nourishing Your Aquatic Buddy
1. Choose the Right Food
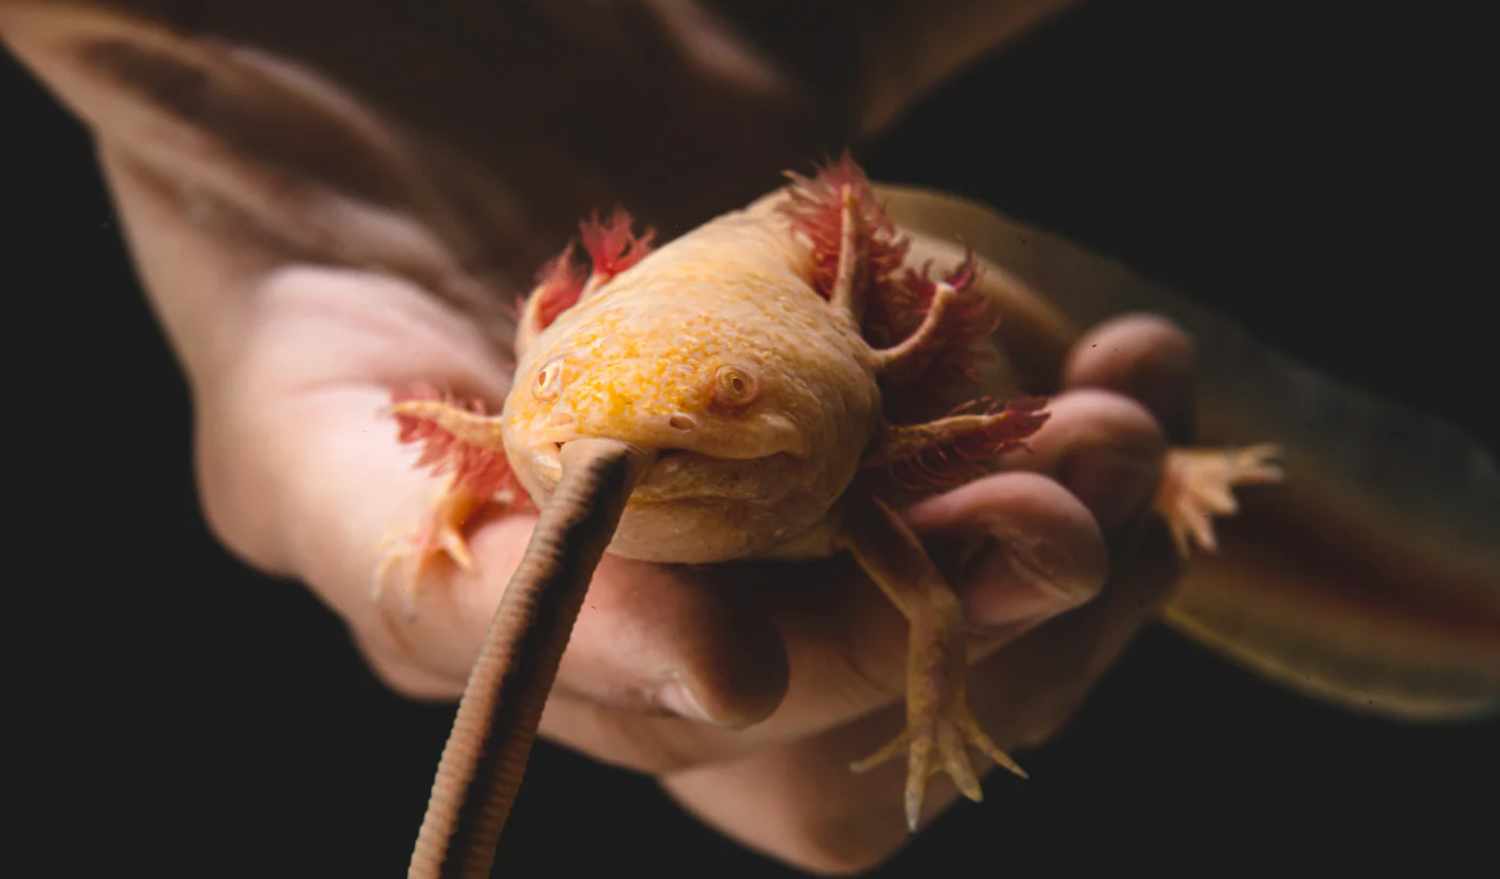
European nightcrawler worms are a popular choice for axolotls. They are nutritious and can be easily sourced from pet stores or bait shops. You can also purchase them directly from our website by clicking this link. Other options include bloodworms, brine shrimp, and specially formulated axolotl pellets.
2. Portion Size
Depending on the size of your axolotl, you may need to cut the worms into smaller pieces. A good rule of thumb is to offer food pieces no larger than the width of the axolotl's head.
3. Feeding Frequency
Juvenile axolotls have a higher metabolism and should be fed daily. As they grow, their feeding frequency can be reduced. Subadults can be fed once every 1-2 days, and adults every 1-3 days.
4. Avoid Overfeeding
Offer food in small amounts and observe your axolotl's appetite. If it stops accepting food, it's an indication that it's full. Overfeeding can lead to water quality issues and health problems for the axolotl.
5. Clean Up Leftovers
It's essential to remove any uneaten food from the tank promptly. Leftover food can decay, leading to water quality issues and potential health risks.
Conclusion
From the moment you bring your axolotl home, every step, from acclimation to feeding, plays a crucial role in its well-being. By ensuring proper acclimation, a well-cycled tank, and a balanced diet, you're setting the stage for a long, healthy, and joyful companionship with your unique aquatic pet.
If you have any questions or need further assistance, don't hesitate to reach out to us. You can contact our office at (214) 679-4013. We're here to help!
@axolotlplanet Mission failed successfully 🥲 #axolotlplanet #axolotl #axolotls #axolotlsoftiktok #fishtank #aquarium #fishtok #fishcontent ♬ original sound - Matthew Rincon
Leave a comment
This site is protected by hCaptcha and the hCaptcha Privacy Policy and Terms of Service apply.