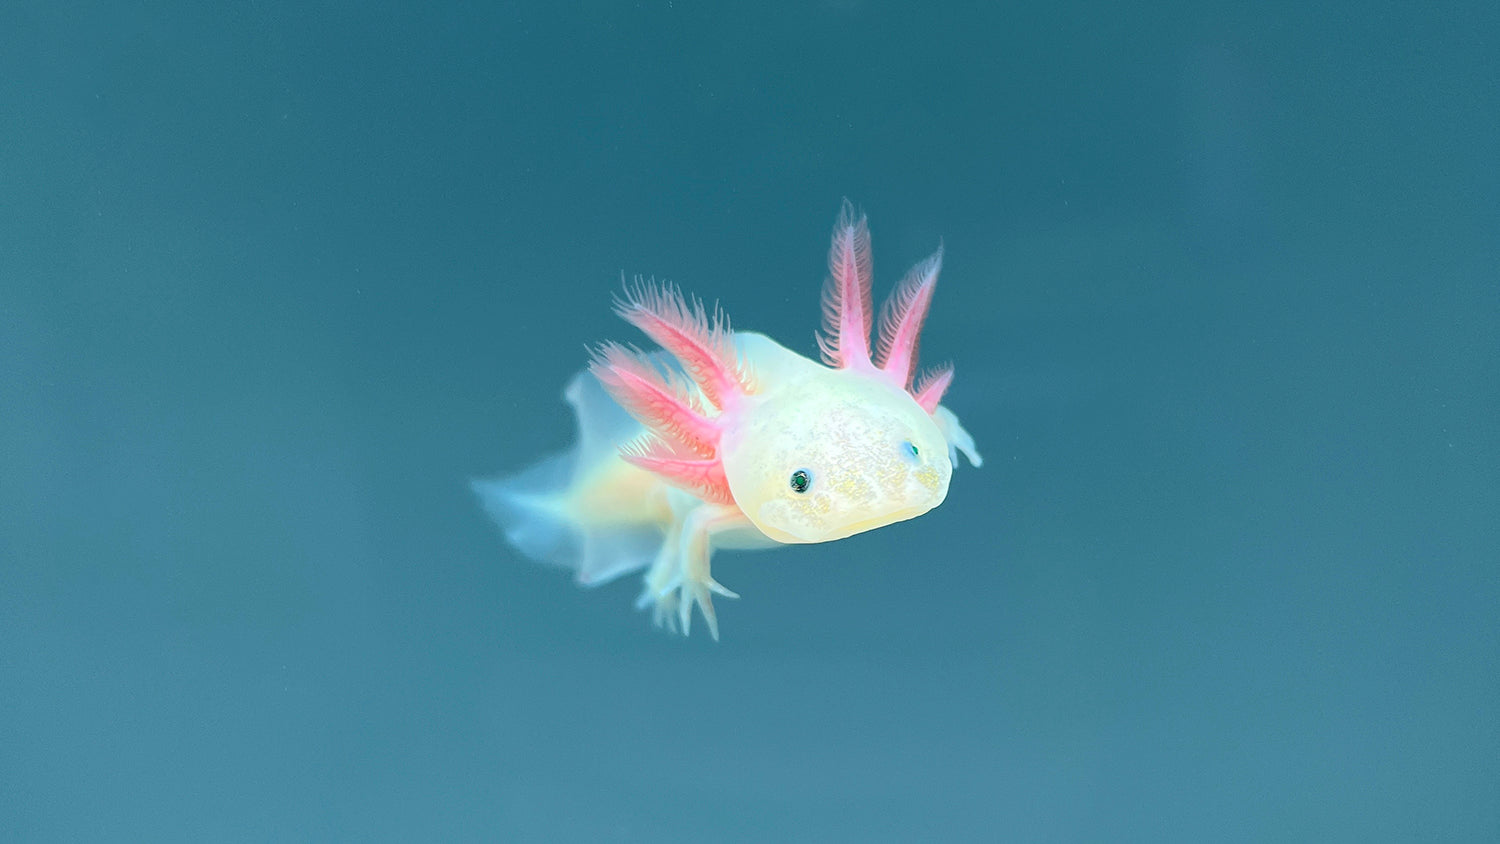
Introduction
Setting up your axolotl’s new home can be very exciting, however, it is important to follow the right process so you know that your new axolotl will be as happy and healthy as possible! If you are bringing an axolotl home today, place it somewhere safe until the aquarium is finished being set up. Additionally, be sure to always wash your hands with warm water (no soap) and dry them with a clean paper towel before placing your hands in your axolotl’s aquarium. This will prevent any potentially harmful residues/debris from getting in the water.
Setting Up The Tank
You will need:
- Aquarium
- Stand
- Lid
- Light
- Cooling fan
- Decorative log
- Thermometer
- 5-gallon bucket
- Fritz Complete
- FritzZyme Turbo Start 700
- Mag-Float algae cleaner
Instructions
- Determine where you will be setting up your aquarium. If you have a stand, build the stand first, and then place the aquarium on top
- Thoroughly wipe the inside of the aquarium to remove any dust/debris using a clean paper towel. Do NOT use clorox wipes or any chemical-based cleaners
- Fill aquarium with cold tap water (using the 5-gallon bucket can make this easy)
- Dose Fritz Complete according to the directions on the bottle
- Dose FritzZyme 700 Turbo Start according to the directions on the bottle
- Remove thermometer from packaging and place on aquarium
- Remove the lid from the box. It comes with an additional piece of plastic to place on the lid itself, you may need to carefully cut this with a razor blade, sharp pair of scissors, or knife in order to fit the cooling fan (if you did not purchase a cooling fan, disregard cutting the plastic piece)
- Remove the light from the box and install according to its instructions
- Place the decorative log anywhere in the aquarium that will allow the axolotl to climb in and out of easily
- Place the Mag-Float algae cleaner anywhere on the glass, with the abrasive side on the inside of the aquarium and the soft side on the outside of the aquarium.
Setting Up The Filtration
You will need:
- Sponge filter
- Airline tubing
- Air pump
- Check valve (optional)
Instructions
- Unbox your sponge filter, airline tubing, and air pump
- Use the airline tubing to connect your sponge filter to the air pump
- If using a check valve, cut the airline tubing 5 inches from the end that plugs into the air pump and attach the check valve. Be sure the direction on the valve is pointing away from the air pump (there should be an arrow on the valve itself)
- Submerge the sponge filter in the water (if the sponge floats, squeeze it under the water to sink it)
- Plug in the air pump. If the sponge filter is operating properly, bubbles should be coming out of the top
Setting Up The Cooling Fan
- Remove the cooling fan from the box and follow the given instructions carefully
- Place the cooling fan on any side of the aquarium. If you need to cut the plastic portion of your aquarium, refer to Step 6 of “Setting Up The Tank” above
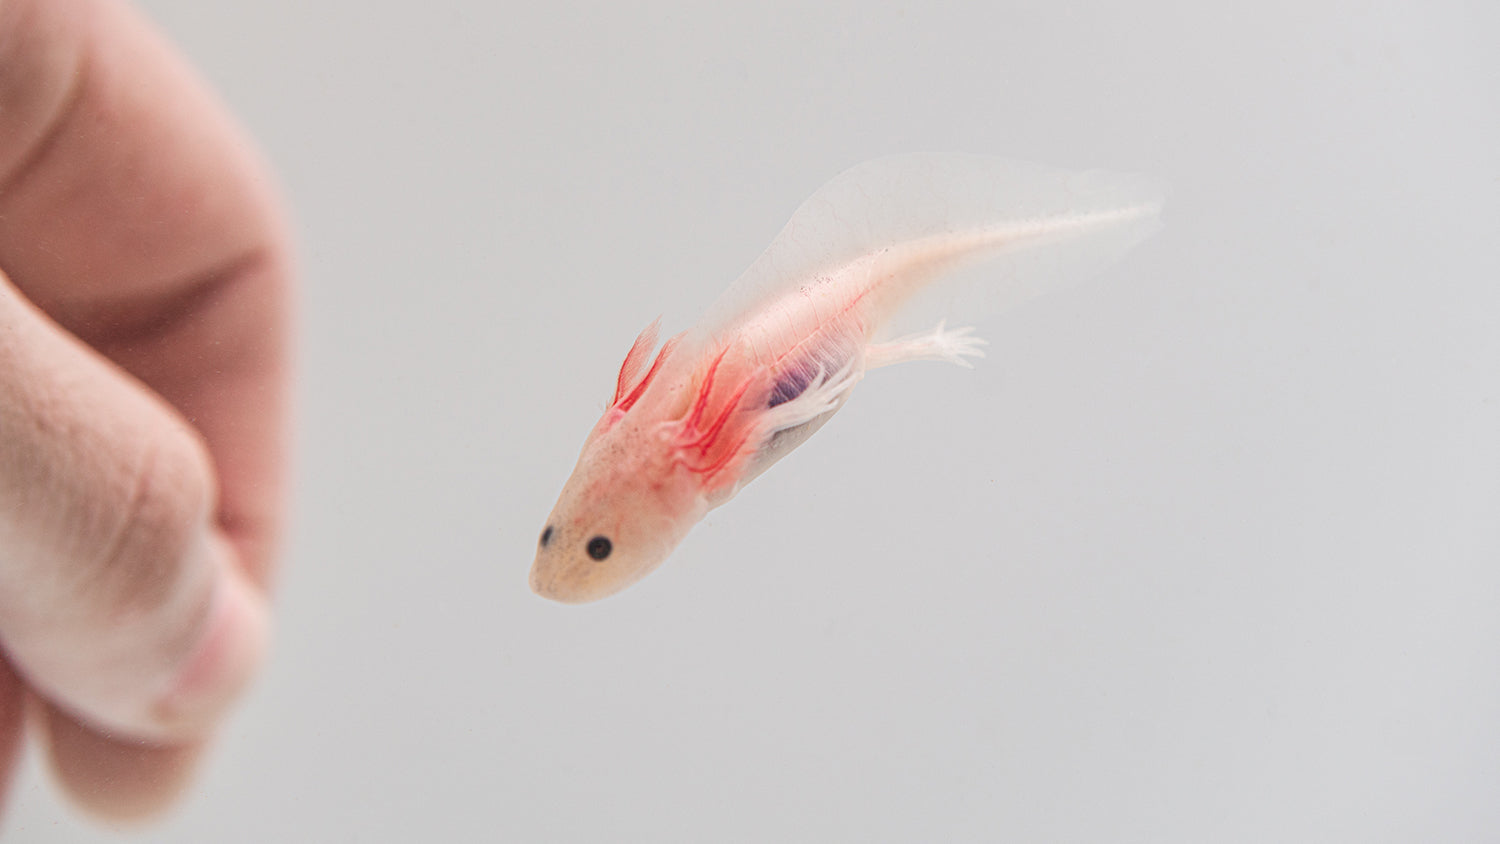
Acclimating Your Axolotl
You will need:
- Axolotl (or axolotls)
- 5-gallon bucket (or large tupperware/container)
Instructions
- Open up the axolotl’s bag, and from the top, evenly roll the sides of the bag downwards
- Add a half-shot glass equivalent of tank water to the bag with your axolotl once every 5 minutes for 45 minutes (this YouTube video demonstrates how to prepare the bag)
- After 45 minutes, remove the bag from the aquarium and carefully pour out the water from the bag into the 5-gallon bucket, or other tupperware/container. Leave only enough water for the axolotl to be barely submerged
- After carefully pouring the water from the axolotl’s bag, gently pour the axolotl into the aquarium
Testing Your Water
You will need:
- API Freshwater Master Test Kit
Instructions
- Thoroughly read the instructions stated in the pamphlet of your API Freshwater Master Test Kit and conduct your first water test
- Document the date as well as the results of your water test (if you have a dry-erase marker, you can write directly on the glass of your aquarium. You can also write them on a piece of paper or make a note on your phone)
Cycling Your Aquarium
You will need:
- API Freshwater Master Test Kit
- Fritz Complete
- FritzZyme 700 Turbo Start
- 5-gallon bucket
- Aquarium siphon
Instructions
- Test your water every 48 hours. If you have any traces of ammonia or nitrite in your water, add one full dose of Fritz Complete to your aquarium, followed by one full dose of Turbo Start. For example, if you have a 20-gallon aquarium, you will dose for 20 gallons of water. This process can take anywhere from a couple weeks, to a couple months
- If your nitrates exceed 20 ppm while your aquarium is cycling, use your 5-gallon bucket and aquarium siphon to do a 20-30% water change. Place the wide-end of the siphon into the water and the narrow end into your bucket. Squeeze the bulb on the siphon to begin draining the water. Once siphoning, the water will drain without having to squeeze the bulb
- Discard the old tank water outside, in your sink, or down your toilet
- Fill your bucket with cold tap water from your sink, hose, or bathtub and condition the new tap water with Fritz Complete, adding roughly 1/5th a cap per 5 gallons of water. Confirm that the water you are pouring back into the aquarium is roughly the same temperature as the water in the aquarium
- Gently pour the bucket of water into the aquarium, being careful not to pour it too quickly
- If needed, test your water parameters after doing your water change to determine how much your ammonia, nitrite, and nitrates have gone down (a cycled tank will always read 0 ppm of ammonia and nitrite)
- Repeat step 1 and 2 of this section until your ammonia and nitrite levels read 0ppm. Once they read 0 ppm, test your water weekly and perform water changes to keep your nitrates between 10-20 ppm (the lower your nitrates, the cleaner your tank is—but you should never have 0 ppm of nitrate as long as there is waste being produced in the aquarium. Live plants can help reduce nitrates
Feeding Your Axolotl
You will need:
- Nightcrawler worms
- Tongs
- Scissors (optional)
Instructions
- Remove the worm from its container and rinse it to remove any excess dirt
- Depending on the size of your axolotl, you may need to cut the worm into pieces (we recommend using a pair of scissors). The rule of thumb is to cut the worm into pieces that are no longer than the width of your axolotl’s head
- Using the tongs that came with your tank kit, pick up the worm pieces and offer them to your axolotl by gently waving each piece immediately in front of the face of your axolotl
- Feed your axolotl only as much as it is willing to eat. When it stops accepting food, that is how you know it is full
- Never leave any uneaten food in the aquarium as it can cause sudden ammonia spikes
- Feed juvenile axolotls daily, subadults once every 1-2 days, and adults every 1-3 days, all while ensuring they are eating as much as they are willing to consume per feeding
Conclusion
Caring for axolotls overall is quite simple. Like any pet, it is important to make sure you are doing what it takes to properly take care of them! As long as you stay on top of your water testing, feeding, and tank maintenance, your axolotl should provide you with 10-15 years of joy and companionship!
Leave a comment
This site is protected by hCaptcha and the hCaptcha Privacy Policy and Terms of Service apply.